How to Drip Acclimate Saltwater Fish
Step-by-step drip acclimation for saltwater fish — supplies, timeline (1-2 hours), salinity matching, and when to skip and float-only.
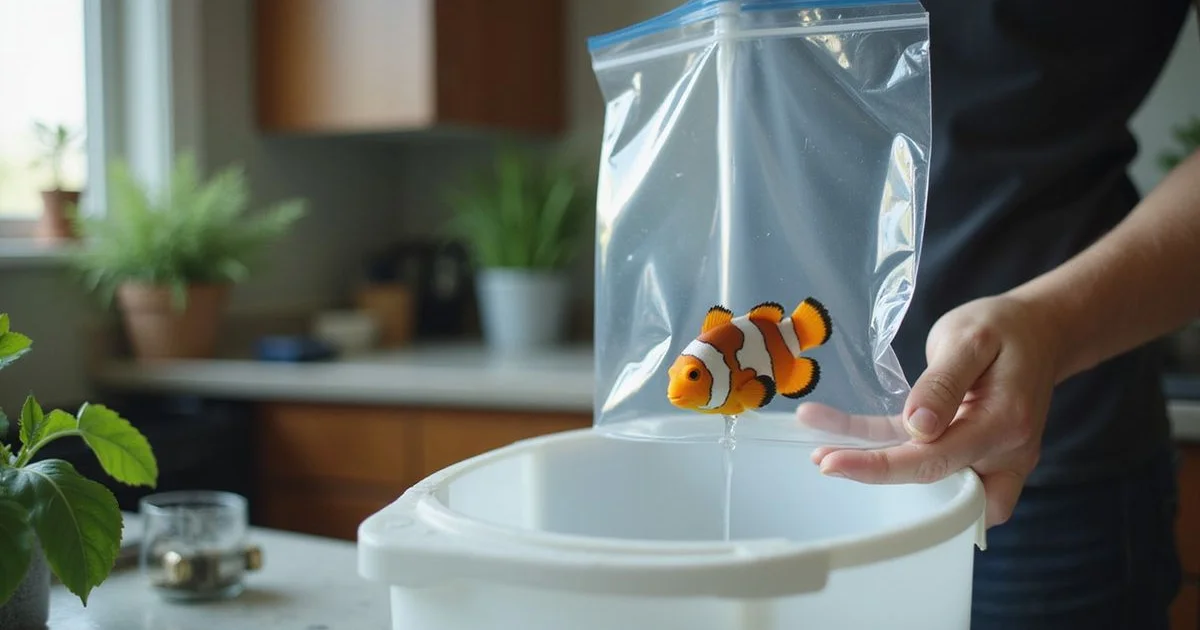
For a related deep dive, read our how to dip and quarantine new corals. We always recommend that hobbyists start with our parent guide to Saltwater Fish before bringing new livestock home. Learning how to drip acclimate saltwater fish is the most important skill you can develop to protect that investment.
Our team sees this mistake happen constantly, leading to unnecessary stress for both the animal and the owner. The reality is that a sudden pH shift can turn harmless compounds into lethal ammonia gas instantly.
We use the drip technique daily in our facility to solve that exact problem.
Let’s review the exact chemistry behind this method and then walk through the simple steps to execute it safely.
Why temperature-only acclimation isn’t enough for marine fish (pH/salinity differences)
Floating a bag only matches the temperature, completely ignoring the dangerous shock of sudden pH and salinity shifts. You need a method that slowly matches water chemistry to prevent sudden organ failure.
Our staff routinely tests shipping bags that arrive with a low pH of 7.4 because carbon dioxide builds up during transport. This lowered pH actually protects the marine fish by converting toxic ammonia waste into a safer form called ammonium.
We have found that opening the bag releases that trapped gas and causes the pH to spike above 8.0 almost instantly. A sudden two-point pH spike converts the ammonium right back into lethal ammonia, which burns the gills of your new arrival.
Pro Tip: Never pour high-pH display tank water directly into a freshly opened shipping bag. This triggers a rapid ammonia spike that can severely damage sensitive gill tissue.
Our preferred method is the drip technique to safely bridge the gap between the shipping water and your display tank. Slowly mixing the fluids allows the animal to adjust to new salinity and alkalinity levels without going into osmotic shock.
Drip-line setup: how to drip acclimate saltwater fish with airline tubing and a valve
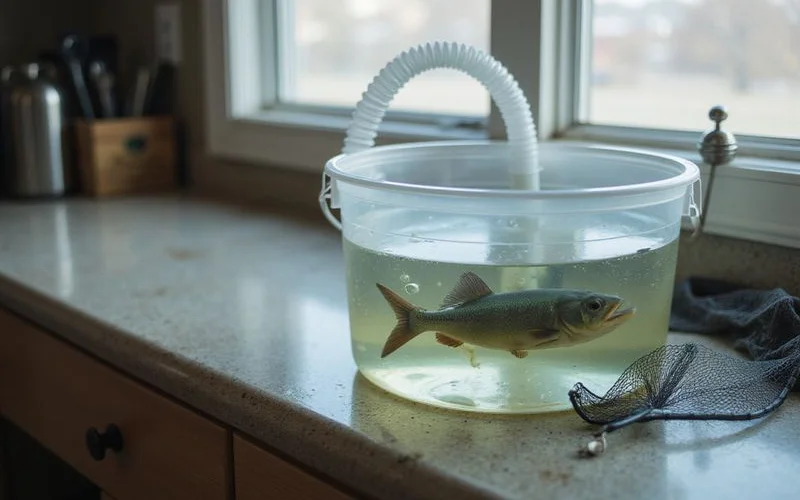
Setting up a drip line requires standard 3/16-inch airline tubing and a mechanism to control the water flow. This creates a slow, steady siphon from your main tank down to a bucket holding the new fish for a safe drip acclimation reef transfer.
We prefer using a cheap, two-way plastic air control valve instead of just tying a knot in the tubing. The valve provides precise, consistent control over the water volume, whereas a knot tends to tighten or loosen as the tube bends.
Our technicians highly recommend grabbing a clean turkey baster to start the siphon. Using your mouth to suck on the airline tubing is a common mistake that exposes you to harmful aquarium bacteria.
- Standard 3/16-inch inside diameter silicone airline tubing.
- Two-way plastic air control valve for precise flow adjustment.
- Clean, dedicated plastic bucket reserved strictly for aquarium use.
- Turkey baster or return pump outflow to easily prime the siphon.
We standardly place the bucket on the floor directly below the display tank. Gravity does the heavy lifting, ensuring a steady stream of water until the process is complete.
Typical 1-2 hour timeline with target drip rate (2-4 drips/sec)
A safe marine fish acclimation timeline generally takes between one and two hours to complete. The target flow rate should be set to 2 to 4 drips per second into the holding container.
We tell customers that the primary goal is to double or triple the original bag water volume during this timeframe. Watching the volume increase is the easiest way to confirm the new arrival is slowly adapting to your specific water chemistry.
Our recommendation is to monitor the bucket closely at the 45-minute mark. If the container fills up too quickly, simply dump half the water down the drain and resume the drip.
| Time Elapsed | Drip Rate | Target Water Volume |
|---|---|---|
| 30 Minutes | 2-4 drips/sec | 1.5x original volume |
| 60 Minutes | 2-4 drips/sec | 2.0x original volume |
| 90-120 Minutes | 2-4 drips/sec | 3.0x original volume |
We always use a net or a plastic specimen container to transfer the animal once the timeline is finished. Discard all the mixed bucket water to keep shipping chemicals and waste out of your clean display.
Salinity matching: when to extend the drip if there’s a big mismatch
You must extend the drip time to three or four hours if the store’s salinity is significantly lower than your home tank. A rapid jump of more than 0.002 specific gravity causes severe osmotic shock.
We frequently see local fish stores running their fish-only systems at a hyposalinity level around 1.018 to 1.020. Lower salinity saves money on synthetic salt mixes and helps suppress external parasites during the retail holding period.
Our home reef tanks, by contrast, are typically maintained at a specific gravity of 1.025 to 1.026 to support coral health. Moving an animal from 1.018 directly into 1.025 water pulls moisture out of their cells, causing immediate distress. Watch for these signs that the specific gravity is rising too fast:
- Rapid, heavy breathing or gasping at the surface.
- Erratic swimming patterns or sudden darting.
- Laying flat on the bottom of the bucket.
- Loss of normal coloration or sudden pale spots.
We use a calibrated refractometer to test both the bag water and the tank water before starting. Knowing the exact numerical gap allows you to dial back the flow valve to just one drip per second for a slower, safer transition.
When to skip the drip and float-only (sensitive species like wrasses can be flipped)
Certain sensitive species require a quick 15-minute temperature float and an immediate transfer to avoid severe stress. Prolonged bucket time can be more dangerous than a rapid chemistry shift for easily frightened animals.
Our quarantine facility uses the drop and plop method specifically for nervous fish like Leopard Wrasses and Fairy Wrasses. These particular species are notorious for thrashing, flashing, and injuring themselves when confined to a shallow, bright container.
We also skip the extended process for mail-order fish that have been trapped in transit for over 24 hours. The ammonia buildup in a delayed shipping bag is highly toxic, so getting them into clean water immediately is the top priority.
Expert Warning: If a bag arrives cold and smells strongly of foul waste, do not attempt a slow acclimation. Float the bag to match the temperature, then net the fish directly into a dark quarantine tank.
We strongly suggest using an acclimation box inside your main tank if you must skip the standard process. This clear plastic enclosure protects the new arrival from aggressive tank mates while they recover from a rapid introduction.
Our Sarasota store at 2847 Bee Ridge Road is built for hobbyists who want real answers, not sales pressure. Marcus Chen opened Gulf Coast Aquatics in 2019 after 25+ years in the hobby and years managing big-box aquarium departments. Every fish is quarantined two weeks. Every saltwater species gets reef-safe labeling. And if your water chemistry is off, we’ll tell you before you buy livestock.
If you’re here because: Buyer driving home with new saltwater fish; needs the right acclimation method, you’re in the right place.
Bring a water sample anytime for free testing (ammonia, nitrite, nitrate, pH, alkalinity, calcium, magnesium, salinity for marine). Results take about ten minutes, and we’ll explain what’s likely driving your issue in plain language.
Practical next steps
- Test your water (free in store, see our free water testing page) before planning how to drip acclimate saltwater fish.
- Match livestock to your actual parameters, not forum guesses.
- Ask us before you buy, we’ll tell you if something won’t work in your tank.
Visit Gulf Coast Aquatics
2847 Bee Ridge Road, Sarasota FL 34239 · (941) 555-0178 · Open Mon-Sat 10-6, Sun 12-5.
Frequently asked questions
Can I use a Python or pump instead? ▼
Yes — but the principle is the same: slow, mixed transition. Airline tubing is cheapest.
How long should drip acclimation take? ▼
1-2 hours for most fish. Sensitive species (wrasses, anthias) can go up to 3 hours.
Should I drip the bag water into my tank? ▼
No — discard bag water. Drip new water from your tank into the acclimation container; transfer the fish over.
Ready for the next step?
Browse our Saltwater Fish selection in store or ask us in person at Bee Ridge Road.
View Saltwater Fish